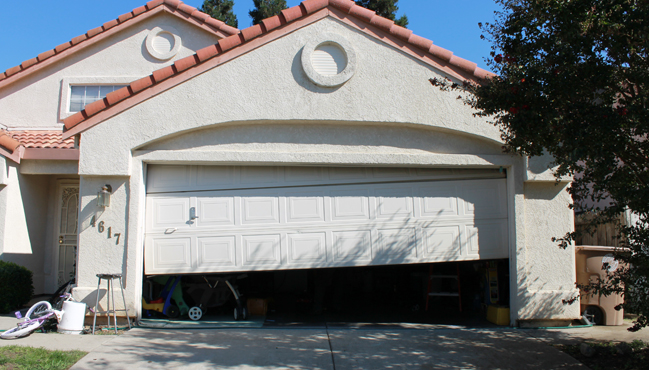
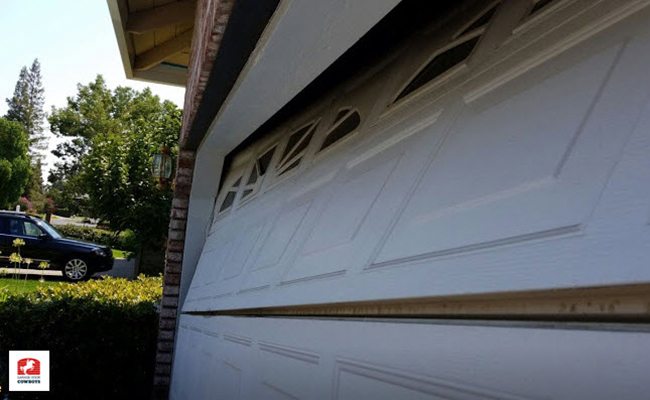
Garage door springs play a crucial role in the smooth operation of your garage door. These springs are responsible for counterbalancing the weight of the door, making it easy to open and close. Over time, however, garage door springs can lose tension or become misaligned, causing the door to operate unevenly or become difficult to open. If you notice your garage door isn’t functioning as smoothly as it should, it may be time to adjust the springs.
For beginners, adjusting garage door springs might seem like a daunting task, but with the right tools and careful attention to safety, it’s something that can be done on your own. Understanding the type of springs your garage door uses—either torsion or extension—is the first step. Torsion springs are located above the door and twist to lift it, while extension springs are found on either side of the door and stretch to provide the necessary force. The process for adjusting these springs varies, so it’s important to follow the correct procedure for your specific setup.
Why Proper Spring Adjustment is Important
Properly adjusted garage door springs are essential for the safe and efficient operation of your garage door. If the springs are too tight, the door may not close completely, leaving your garage and home vulnerable to security risks. On the other hand, if the springs are too loose, the door might slam shut unexpectedly, which can be dangerous for anyone nearby and potentially damaging to your garage door system.
Moreover, misaligned or improperly tensioned springs can cause undue wear and tear on your garage door opener. The opener might have to work harder than necessary to lift or lower the door, leading to premature failure and expensive repairs. By ensuring your garage door springs are correctly adjusted, you not only improve the door’s performance but also extend the life of your entire garage door system, saving you time and money in the long run.
Tools Needed for Spring Adjustment
Before you begin adjusting your garage door springs, it’s important to gather the necessary tools. For torsion springs, you’ll need a set of winding bars, a wrench set, and a sturdy ladder. Winding bars are specially designed to safely adjust the tension in torsion springs, and it’s crucial to use these tools instead of makeshift items like screwdrivers, which can slip and cause injury. For extension springs, you’ll need a set of pliers, a wrench, and safety goggles to protect your eyes from any potential hazards.
Having the right tools on hand will make the adjustment process smoother and safer. It’s also recommended to have a second person assist you, especially when working with heavy or high-tension springs. An extra set of hands can help stabilize the ladder or the door itself, reducing the risk of accidents. Always prioritize safety by wearing gloves and ensuring your workspace is well-lit and free of distractions.
Step-by-Step Adjustment for Torsion Springs
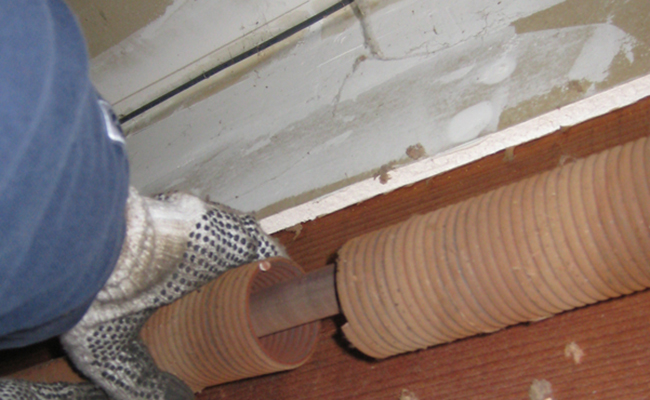
To adjust torsion springs, start by ensuring the garage door is fully closed. This reduces tension in the springs and minimizes the risk of the door moving unexpectedly. Use a wrench to loosen the set screws on the winding cone at the end of the spring. Carefully insert the winding bars into the holes on the cone, making sure they’re securely in place before proceeding. Each turn of the winding bars will increase or decrease the tension in the springs, so it’s important to turn the bars slowly and evenly.
Adjusting the spring by one-quarter turn at a time allows for precise tension adjustments. After making a few adjustments, check the balance of the door by lifting it halfway up. If the door stays in place, the springs are properly adjusted. If it moves up or down, further adjustment is needed. Once you’re satisfied with the tension, retighten the set screws on the winding cone and carefully remove the winding bars. Test the door’s operation several times to ensure it’s moving smoothly and evenly.
Step-by-Step Adjustment for Extension Springs
Adjusting extension springs involves a slightly different process. Begin by opening the garage door fully, which will relieve most of the tension in the springs. Secure the door in place with C-clamps or locking pliers to prevent it from moving. Locate the adjustment hooks on the end of each spring, which are typically connected to a horizontal track. Using pliers, move the hooks to increase or decrease the tension as needed.
Like with torsion springs, it’s important to make small adjustments and test the door’s balance after each change. If the door closes too quickly or doesn’t stay open when lifted halfway, the springs may need more tension. Conversely, if the door is difficult to close, the springs may be too tight. Adjust the hooks incrementally, checking the door’s operation after each change. Once the springs are properly adjusted, remove the clamps or pliers and test the door’s full range of motion to ensure everything is working correctly.
Safety Precautions and Final Checks
Adjusting garage door springs can be dangerous if proper safety precautions aren’t taken. Always wear protective gear, including gloves and safety glasses, to guard against accidents. Never attempt to adjust the springs with makeshift tools, and avoid standing directly in the path of the garage door while working. If you’re unsure about any part of the process, it’s best to consult a professional rather than risk injury.
After completing the adjustments, thoroughly test the garage door by opening and closing it several times. Listen for any unusual noises, and check that the door moves smoothly without jerking or hesitating. If the door operates correctly and remains balanced, your adjustment was successful. Regular maintenance and periodic checks of the spring tension will help keep your garage door in optimal condition, ensuring safety and reliability for years to come.