FIRST STEP:
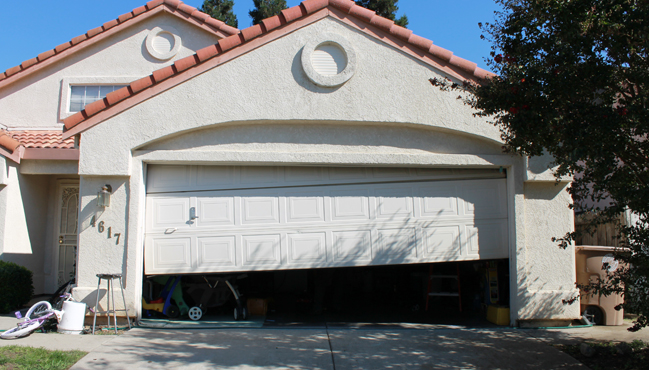
The old garage door must be removed and the original garage door manual should provide comprehensive instructions for this step. The main items should be concerned with carefully removing the door from the system of pulleys. Next take the door panels apart and remove the screws from the tracks. It is best to only remove a single panel a time. An attempt to remove them otherwise may cause the panels to fall and result in serious injury.
Click here for garage door installation service
SECOND STEP:
It is important to measure the area that the door will be installed into. This includes the height and width of the door opening, from the ceiling to the top of the opening, and the length of the garage or back room. There should be approximately 10 to 12 inches of space for the head room or the space between the opening and the ceiling. This greatly depends upon the spring system that is being installed. There should be 18 inches or more added to the door height for the back room.
Temporary stops must be attached to each side of the opening once the appropriate measurements have been acquired. Ensure that the stops are flush with the inner edge of the door jam. Use saw horses to lay out the piece of the new garage door affix the weather stripping if required. Also affix lift handles and hinges to the new piece.
THIRD STEP:
Use a level to properly place and insert the bottom piece into the frame of the door. Tap nails only part of the way into the jambs once the piece is set in place. Bend the nails slightly in order to secure them. Refer to the original manufacturer’s manual for instruction of how to construct the curved, horizontal, and vertical parts of the track and then set inside.
FORTH STEP:
Install the next panel on top of the first and hammer nails into the side jambs to secure it. Repeat this process for all panels and hinges. Each piece will need to be secured into the door jamb.
FIFTH STEP:
When all of the sections have been secured into place it is time to install the rollers into their appropriate supports. The next step is to put the rollers into the previously assemble track and secure the brackets for the track progressively. Do not press the rollers too snuggly against the track. The friction from this can result in serious damage to the door.
SIXTH STEP:
Ensure that the vertical tracks are secured against the jambs then install the horizontal and curved parts. While the horizontal pieces are being installed, use the previously obtained measurements and level to ensure that the tracks are perfectly straight. Also ensure that these are pointing away from the opening at a 90 degree angle.
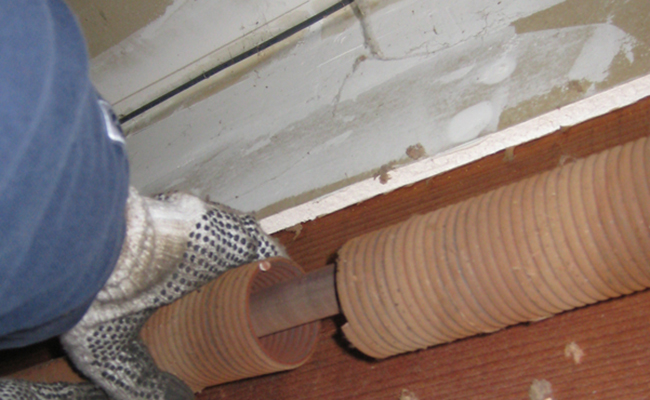
The tracks should now be secure. Now assemble the springs per the manufacturer’s directions. This step requires the assistance of another individual. Raise the door approximately half the length in order to be sure the tracks are parallel and level. When this has been accomplished raise the door the rest of the length and affix the springs properly to the pulley system.


